How to install Lightroom presets
Very basic instructions on how to install Lightroom presets. The very first step would be to download your Lightroom presets (unzip if necessary) and get the .lrtemplate files ready.
HOW TO INSTALL LIGHTROOM PRESETS:
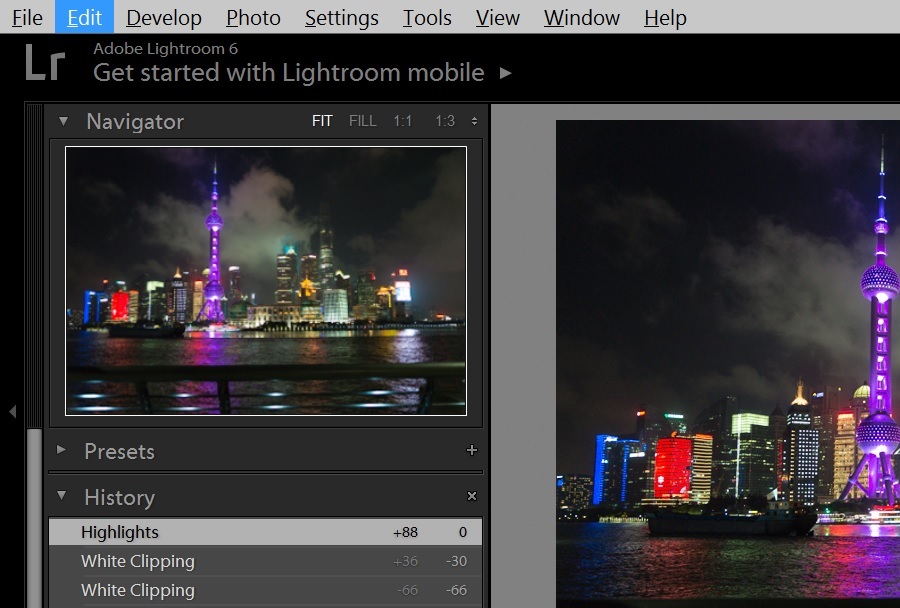
1. Open Lightroom and go to > Edit
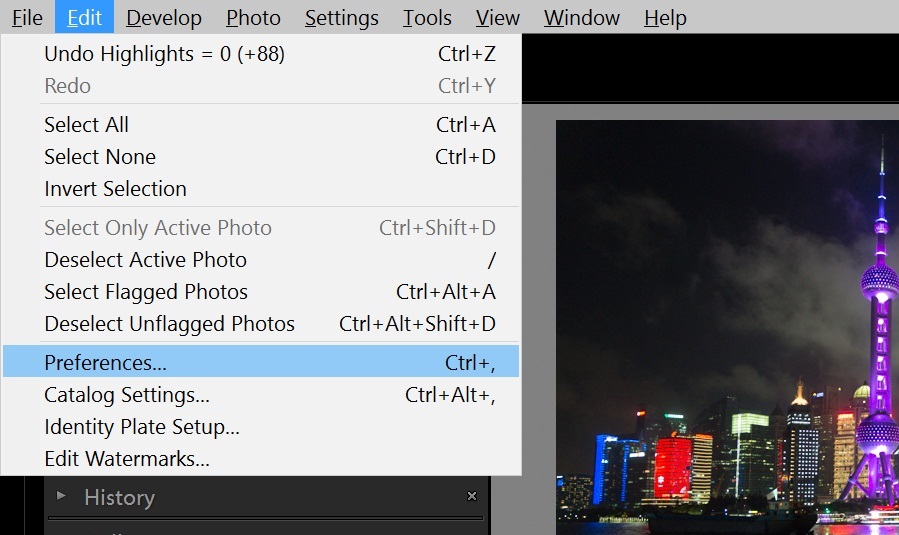
2. Click on Edit > Preferences
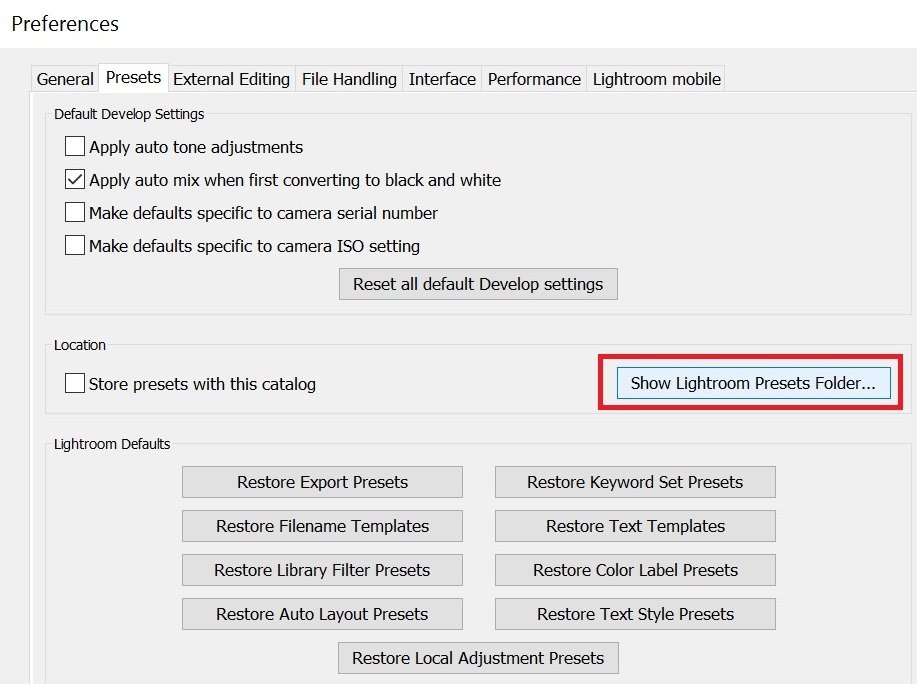
3. Go to Presets Tab, and click on Show Lightroom Presets Folder…
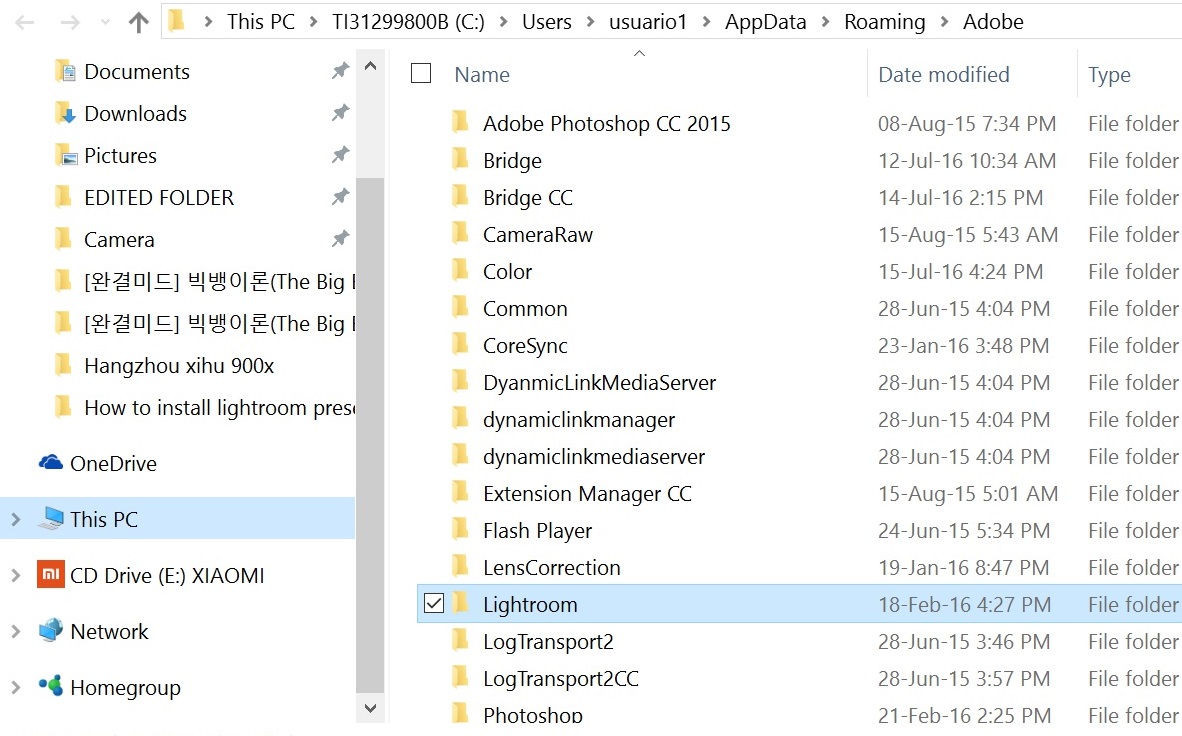
4. Open the Lightroom Folder
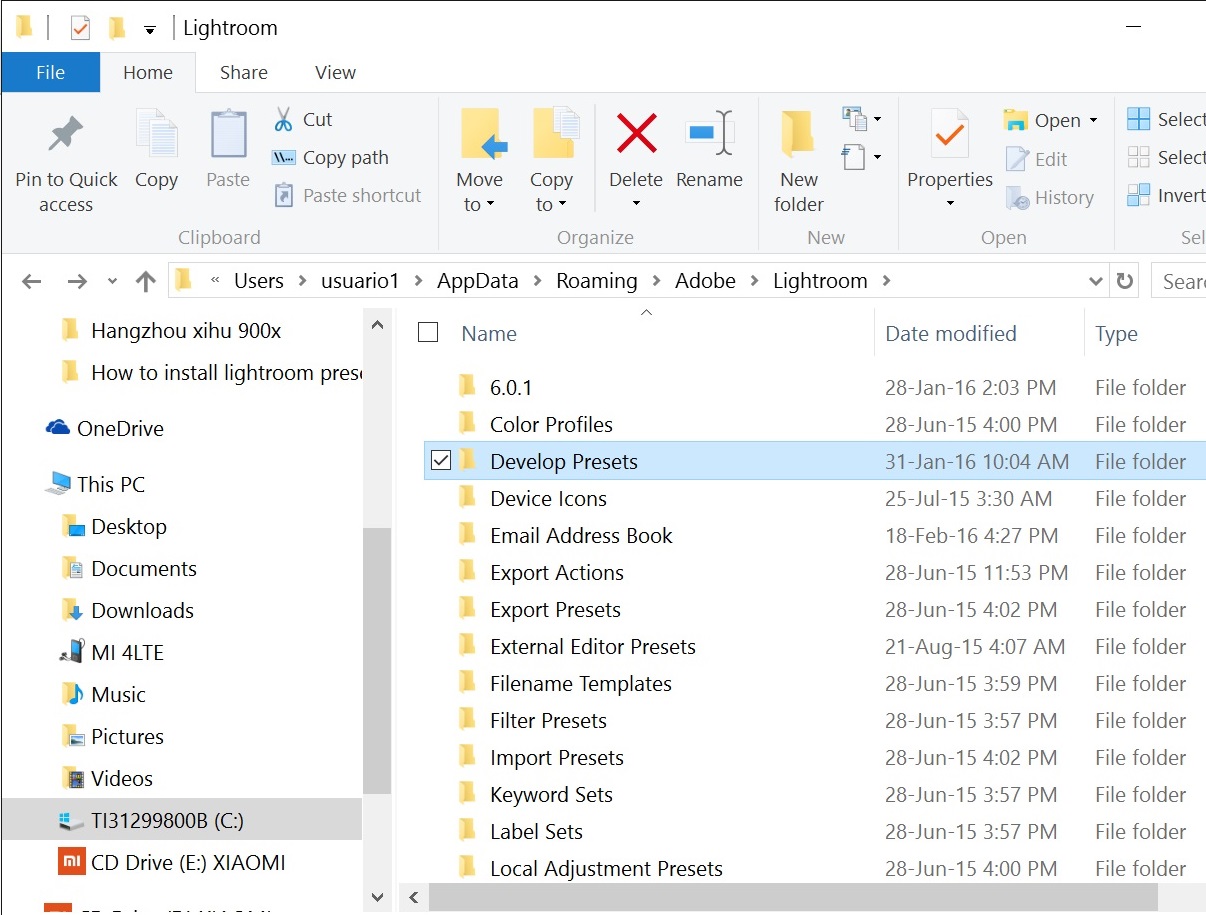
5. Lightroom folder > Open develop Presets folder
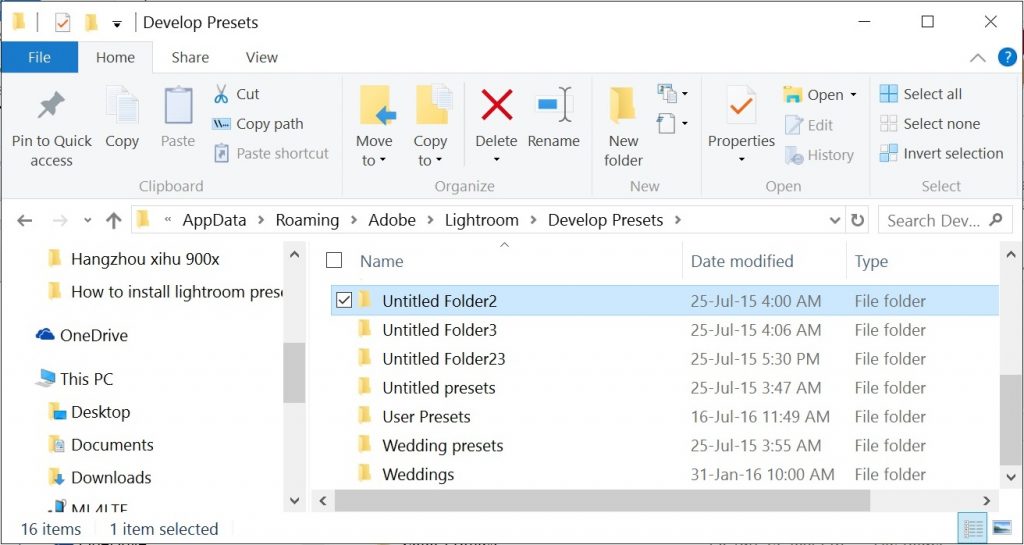
6. This is the sweet spot, just copy your files here (.lrtemplate files) inside a folder here and you are good to go. Use the folders wisely to keep presets well-organized.
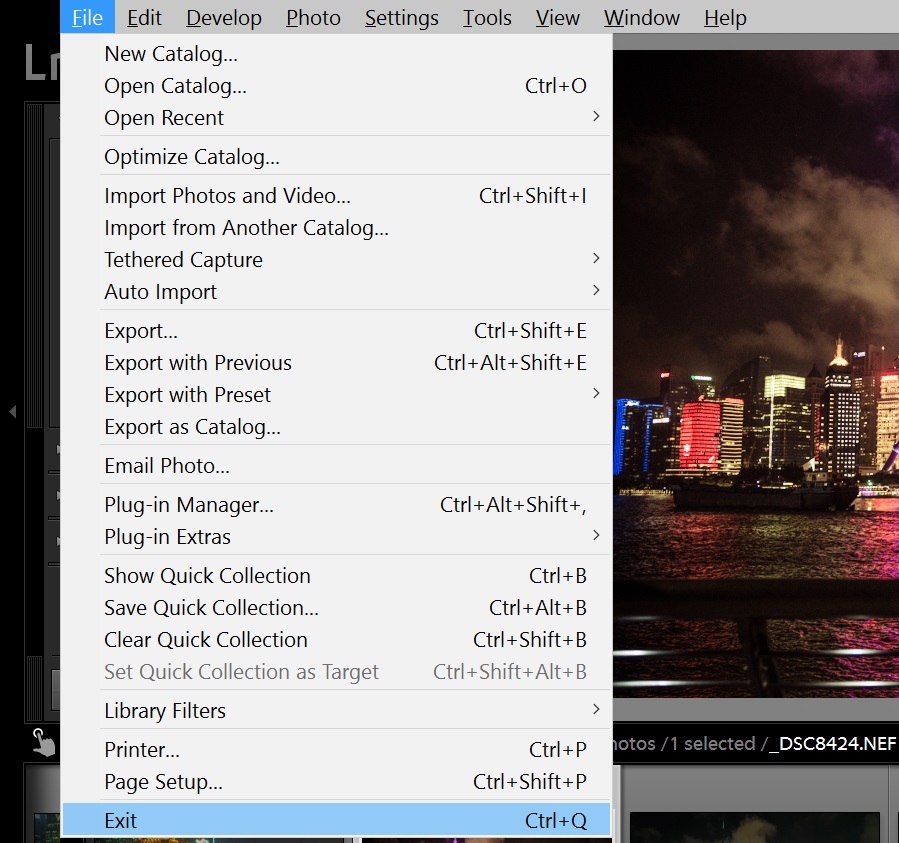
7. Done! :). Exit Lightroom because a reboot is needed.
That’s it, that’s how you install Lightroom presets
Easy, right?. I strongly recommend to keep your Lightroom presets organized in renamed folders by categories, or it will become chaos quickly. For example: Wedding presets, portrait presets, landscape presets.
After that i would rename the Lightroom presets to something highly descriptive that i would be able to remember. Something like: High contrast, split colors with sharpening, low contrast B/W, etc. Why?, because chances are that when you will have a high amount of presets, and will being to forget them.
The Lightroom presets help me to save a lot of time, but each image is different and requires a bit of personalized edition. Nevertheless, i also often use Sync, to save a lot of editing-time.
Enjoy :).

No Comment